Showing posts with label Sweet. Show all posts

Wednesday, April 11, 2012

Pumpkin Oatmeal Cookies with Choc Chips.

I had some left over mashed some pumpkin after making the Chocolate Pumpkin Loaf from the Post Punk Kitchen website (it was delicious by the way but I forgot to photograph it).

So the next day I decided to try these Pumpkin Oatmeal Cookies (also from the Post Punk Kitchen).  I made a half batch (as I only had half a cup of mashed pumpkin) but it still made heaps of cookies.  I think you would only want to make a full batch if you planned on sharing them.  As this batch was eaten entirely by Dear Husband and myself, half the amount was definitely enough!


The only changes I made to the recipe were to leave out the flax seeds (I didn't have any), substitute the walnuts for choc chips and to add 1/4 teaspoon of ground ginger.  The result was quite yummy but my cookies turned out quite soft and cakey. Like a cross between a cookie and a scone - but quite delicious.  I think they would be great with the walnuts too but I was more in the mood for chocolate than walnuts at the time.  I plan to try them with the flax seeds next time.


Tuesday, February 7, 2012

Raspberry Truffle Brownies

Dear husband and I have been on a bit of a health kick and so I have been trying out healthy new vegan recipes.  Last week we had a friend come over for dinner.  Perfect opportunity to try out the new brownie recipe on the PPK web site?  Hell yeah!


These brownies are squidgey, moist and very delicious.  Want to try them out for yourself?  Here is the recipe on the PPK site: Raspberry Truffle Brownies.  Well done Isa!  You have made me very happy.

I took most of the batch in to work the next day to avoid dear husband and I totally ruining all our good work losing weight recently.  They didn't last long in the staff room.  I'll take that as a sign that they were appreciated.


The recipe suggests a cooking time of 16-18 minutes.  As I lurve fudgy brownies I took them out of the oven at 16 minutes.  They did look like they could have used a couple of minutes longer.  However, as per Isa's advice, a few hours chilling in the fridge and they were fabulous.  But if you don't want to risk the raspberries making your brownies seem a little "wet" you might want to cook them for the full 18 minutes.

Unfortunately there was a layer of gooey goodness left on the baking paper which I absolutely could not waste.  Am I the only one who scrapes the left overs off the lining?


Now all I need is another excuse to make them!

Sunday, October 23, 2011

Bounty Slice

The key ingredient for the 3rd Vegan MoFo Iron Chef challenge is coconut.  Mmm, coconut.  I love coconut.  I adore coconut - in curries, in chocolate, and in desserts of all descriptions.

But what to make for the challenge?  Maybe a slice?  Dear husband asked if the filling would be like a Bounty.  Perfect!  Just the inspiration I needed.  Thank you dear husband.

Here is what I came up with:


I am very happy with the result.  It is very, very rich.  It is really a no-bake confectionery, rather than a slice. So if you make it please cut it into small squares.  You have been warned!  I cut mine into 48 squares.  Dear husband and I have eaten a few each and now we can't even contemplate dinner.


If I make this again I think I will keep the coconut layer thinner, but keep the proportions of the ingredients the same as it was just delicious.  Who am I kidding?  "If"!  I will definitely be making this again.  Hmmm, better yet, maybe next time I will make just as much filling, double the base and chocolate, and make it in a bigger tray!  Then there will even be enough to share.


Ingredients
250gm biscuits (cookies)
125gm margarine, melted

1 can coconut cream
60gm margarine
½ cup castor sugar
2 teaspoons vanilla essence
2½ cup dessicated coconut

125gm chocolate
½ vegetable oil eg canola oil - NOT olive oil

Method
1. Line a slice tray
2. Crush the biscuits.  Mix in the melted margarine.  Press into tray.
3. In a saucepan combine the coconut cream, margarine, castor sugar and vanilla essence.  Heat until well combined and then simmer for 5 minutes over a low heat, stirring frequently.
4. Stir in the coconut then spread over the biscuit base.
5. Refrigerate until set (I popped mine in the freezer for 30 minutes and then the fridge for an hour).
6. Melt the chocolate and oil together.  Spread over the slice.  Refrigerate for ~ 15 minutes until just set then cut into squares.  (Don't let the chocolate get too hard before you try to cut it.)  Refrigerate for a further 30 minutes before serving.
 

For the base I used McVities Hobnobs.  They were perfect.  What a great vegan find.  But what a shame that it is a 400gm packet and I only needed 250gm for the base.  Dear husband and I had to eat a few with a glass of creamy soy milk while we waited for the slice to set.  No wonder we are too full for dinner!

Monday, October 17, 2011

Banoffee Coffee Squares

Has it really been a whole week since the last Vegan MoFo Iron Chef challenge?  Apparently it has.

I had a few bananas sitting on my kitchen bench that were just passed that pleasant eating stage but not yet at banana bread stage.  So when I found out that the 2 ingredients for the Vegan MoFo Iron Chef Challenge #2 were bananas and coffee I knew that I just had to give it a try.

My offering:  Banoffee Coffee Squares!


Ingredients
⅓ cup coffee (how strong you make it is up to you)
60gm Vegan margarine
1 cup dates (100gm)
½ cup Brown sugar
1 teaspoon vanilla essence
3 ripe bananas, mashed (200gm, 3/4 cup)

2 cups flour
1 teaspoon baking powder
½ cup castor sugar
125gm Vegan margarine

Method
1. Preheat oven to 180°C.
2. Line a shallow baking tray.  (Mine was 17cm x27cm - weird numbers!)
3. Reserve 2 tablespoons of coffee and set aside.  Combine the rest of the coffee in a pot with the 60gm margarine, dates, brown sugar and vanilla essence.  Heat until the margarine is melted. Reduce the heat and simmer for ~ 8 minutes until the dates are all squishy.  Set aside.
4. Mix the flour, baking powder and castor sugar together.  Add the margarine and cut in or rub with finger tips.  Add the 2 tablespoons of coffee and cut in with a knife.  Kneed together briefly to combine.
5. Take ¾ of the dough and press into the baking tray.
6. Mix the mashed bananas into the date mixture.
7. Spread the date mixture over the base.
8. Take the remaining ¼ of the dough and drop/crumble small piece of it over the date mixture.
9. Bake for ~ 22 minutes.  (I baked mine for 25 minutes and I think the base was just a few minutes overdone.

These are perfect with a cup of coffee (or tea in my case).


Tuesday, September 27, 2011

Day 26 - Pumpkin Scones

I have been a bit busy the last few days.  Apparently too busy to cook, or even to take photos when my husband cooks (fabulous stir fry again) and too busy to keep up with blogging every day in September.  But apparently not too busy to bake! 

Yesterday I had a craving for pumpkin scones that just had to be satisfied.  Pumpkin scones are a bit of a favorite of mine so it was about time my recipe was veganised.  I am very satisfied with the result and I can proudly say that they are delicious.  I defy even the fussiest non-vegan to say these aren't as good as non-vegan scones.


These scones smell absolutely amazing as they are baking!  I love the aromatic combination of cardamon, cinnamon and pumpkin.  However, if you don't like things with a bit of spice you could leave out the spices or change the spice mix to suit your taste buds (half a teaspoon of nutmeg is a good alternative but don't over do it).  The sultanas could also be left out or even substituted for currants which are also delicious in scones.

Ingredients
3½ cups flour
½ cup castor sugar
2 teaspoons baking powder
½ teaspoon baking soda
1 teaspoon cardamon
1 teaspoon cinnamon
125gm margarine
1 cup sultanas
2 cups mashed pumpkin

Method
1. Preheat the oven to hot - 225°C.
2. Mix together the dry ingredients
3. Using a knife cut the margarine into the flour mix and then use your finger tips to rub it in until the mixture is fine and crumbly.
4. Stir in the sultanas.
5. Add the pumpkin and stir until just combined.
6. Gather half the dough into a lump and put it a floured surface.  Gently kneed it just a few times and form it into a thick circle.  Use a large knife to cut it into 6 wedges (think pizza).  Place on baking tray.  Repeat with the other half of the mixture.
7. Brush the top of the scones with soy milk and sprinkle with castor sugar.
8. Bake for ~ 10 minutes.
9. These are delicious served immediately.  But as they are more moist than regular scones they keep quite well and can be eaten cold over the next few days or reheated briefly in the microwave.

Hints
1. Don't bother cutting the skin off the pumpkin.  I just cut it into largish lumps and microwave it in a covered dish with just a little water.  When it is soft let it cool a little.  You will find that the flesh easily scoops away from the skin.
2.  I don't like cleaning up flour from my kitchen bench top.  So I use a sheet of baking paper to sprinkle flour onto whenever I need a floured surface.  It is so much easier to gather it up and toss it in bin at the end rather than having to clean up messy flour.

PS - How gorgeous is the material in the photo!?  I am going to make it into a wrap around skirt.
Did you get that.  I am going to make myself a skirt.  Now all I need to do is borrow a sewing machine and learn how to sew!

Monday, September 19, 2011

Day 18 - Orange and Poppy Seed Cake

No, we didn't have cake for dinner.  As if!  (Although, to be honest, if I did have cake for dinner it wouldn't be the first time.)   We had falafel gyros for dinner.  But you have already seen photos of that a few days ago.  And if you have seen one gyro made by me you have kind of seen them all.  So I thought that I would show you what I baked today instead.
 

Moist, zesty Orange and Poppy Seed Cake.  I was pretty happy with the outcome but I was thinking I could maybe tweak the recipe a little more to make it truly perfect.  But when I mentioned this to my dear husband he said "It's delicious! I couldn't imagine an Orange and Poppy Seed Cake being any more perfect"  So there you have it.  It is scrummy just as it is.


This loaf did develop a few cracks on top.  Does that mean my oven was too hot?  Too cold?  Too much moisture?  What?  But, I don't really mind it looking like this. I think it gives it that "home cooked" look. 

I adapted the recipe from my faithful old Family Circle recipe book: "Cooking.  A Commonsense Guide."  The recipe in the Family Circle recipe book suggests topping it with a lemon butter cream icing but I don't think the cake really needs it (and why lemon, not orange, I don't know).  It is very satisfying just as it is, especially with a cup of tea while it is still warm from the oven.  But you could dress it up with tangy orange cream icing if you felt like it.  And of course the icing would hide the cracks in the top if they bothered you.


Ingredients
1½ cups self raising flour
⅓ cup ground almonds
¼ cup poppy seeds
185gm margarine
⅔ cup castor sugar
¼ cup orange marmalade (but remove any large pieces of rind)
3 teaspoons finely grated orange rind
⅓ cup orange juice (squeezed from the orange you have just grated zest from)
¾ cup soy milk
1 teaspoon apple cider vinegar

Method
1. Preheat the oven to 180°C.
2. Grease and line a deep loaf tin.  (You could use a round cake tin or ring tin if you you prefer).
3. In a large bowl mix the flour, ground almonds and poppy seeds.  Make a well in the centre.
4. Mix the vinegar into the soy milk and allow to stand for a few minutes.
5. Put the margarine, sugar, marmalade, orange rind and orange juice in a pan.  Stir over a low heat until smooth.
6. Poor the orange mixture into the dry ingedients and whisk until smooth.
7. Add the soy milk mixture and whisk until just combined.
8. Pour into the tin and bake for 50-60 minutes, until a skewer comes out clean.
9.  Allow to cool for 15 minutes before removing it from the tin.

Monday, August 29, 2011

Rhubarb and Apple Crumble

It is rhubarb season. I love rhubarb.  Especially when it is baked in a crumble or pie!


Crumble is such a simple and quick dessert to make.  And I can pretend it is healthy because of the fruit and because I add oats and nuts.  I am trying to avoid eating too many "empty calories" so this dessert is easier to justify than say chocolate cupcakes!  (More on the subject of chocolate cupcakes coming soon).

400gm of Rhubarb and 2 Granny Smith Apples.
Ingredients:
400gm Rhubarb
2 apples - I think Granny Smiths are best for crumbles and pies
1/4 cup freshly squeezed citrus juice - lemon, lime or orange all work well. 
1/3 - 1/2 cup castor sugar (depending on how sweet you like it)
2 tablespoons of corn flour

1 cup plain flour
1/2 cup cocconut
1/2 cup brown sugar
100gm margarine
Optional - 1/2 cup nuts.  I find that walnut pieces or slivered almonds work really well.

Can you peel an apple without breaking the piece of peel?

Method:
1. Preheat oven to 180oC
2. Trim the ends off the Rhubarb and cut into 2cm pieces.
3. Peel the apples, remove the core and cut into similarly sized pieces.
4. Place in a baking dish.  I use a 21cm square glass dish.
5. Sprinkle the cornflour, castor sugar and citrus juice over the fruit and stir to coat well.
6. In a large bowl combine the remaining dry ingredients.
7. Use a knife to "chop" the margarine into the dry ingredients.  And then use your hands (wash them first of course!) to rub the margarine in until it is well distributed.
8. Take a handful at a time of the crumble mix, squeeze it into a lump and place on top of the fruit.  Repeat until all the crumble is on top of the fruit.  You will need to press it down and spread it around a bit to cover all of the fruit.
9. Bake for 35 minutes.  If your dish is quite full some juice may drip over the edge so put a tray underneath to avoid a messy clean up.
10. Allow to cool for 5 minutes then serve with soy vanilla icecream or soy custard or both!


Saturday, July 23, 2011

Midnight Cookies

Last night after watching the movie "Morning Glory" (which I really enjoyed despite having never heard of it before last night and it being pretty predictable), my husband and I had a hankering for donuts.  One of the last scenes involves a grizzly Harrison Ford, actually, I won't describe the scene in case you haven't seen it and want to watch it.  Our internet searching brought up some yummy sounding recipes for vegan donuts, but unfortunately I did not have a full compliment of ingredients for any of the recipes :(

However, by that time the urge to bake and eat was too strong so I had to make something.  What could I bake at midnight with the contents of my pantry?  The recipe I came up with is loosely based on Afghan biscuits - which by the way apparently originated in New Zealand.   Why are they called Afghans?  I dunno.   Internet searching throws up a few possibilities as to why - none of which seem very PC.  First Anzacs, now Afghans.  How awful!  What will I be baking next!


Well, as my cookies have a few significant differences I have taken the liberty of renaming them Midnight Cookies in honor of the ideal time to bake them.  I am sure you could make some changes depending on what is in your pantry when the craving strikes eg throw in some nuts instead of the sultanas or coconut.

Midnight Cookies
Makes about 22 cookies

Ingredients:
150g margarine
1/3 cup brown sugar
1 teaspoon vanilla essence
1/4 cup soy milk
1 cup plain flour
3 tablespoons cocoa powder
1/3 cup desiccated coconut
2/3 cup rolled oats
1/2 cup sultanas

Method:
1. Preheat the oven to 180oC
2. Line two trays with baking paper.
3. Beat the margarine and sugar until fluffy.
4. Add the vanilla essence and soy milk and beat well.
5. Add the rest of the ingredients and mix with metal spoon until just combined.
6. Drop tablespoon sized blobs onto the lined baking trays.  They will not spread much at all so you can space them pretty close. 
7. Bake for 12-15 minutes depending on how moist vs crunchy you want them to be.
8. Allow to cool.
9. If you want to (and you have some in your pantry) add a dollop of melted vegan chocolate to the top of each cookie. 
10. Grab a glass of cold soy milk and enjoy!


For the chocolate on top of my cookies I melted 6 pieces of Sweet William dairy free chocolate from the multipack with a dash of canola oil.  If you are melting chocolate in the microwave be very careful not to overdo it or you will ruin the chocolate.  Make sure that your bowl and stirring spoon are very clean.  I do it in spurts of 30-45 seconds stirring after each blast.  Adding a dash of oil helps to keep it smooth and makes it easier to spread.

NB - the photos were taken this morning.  Not very good that there are only 8 biscuits left - considering I made 22 last night and there were only 2 of us here to eat them last night.

Actually make that only 6 biscuits left!

Friday, July 15, 2011

Anzac Slice

I love Anzac biscuits, they are just so delicious in all their golden syrupy, chewy glory.  Chewy because that is how I like them - out of the oven in no more than 18 minutes.  Revered since childhood in Australia and New Zealand because of the association with brave soldiers who we pictured as carrying them around in biscuit tins.

It might seem like a strange choice for a moderate pacifist.  But it is an obvious choice for a vegan - the recipe never included eggs due to war time scarcity.  And of course it is very simple to replace the butter with vegan margarine.

For this batch I ditched the coconut, reduced the sugar and added some nuts, seeds and dried fruit.  I squished the mixture all down in a tin rather than forming separate biscuits.


I was enjoying them all the more because I was kidding myself that they are somewhat healthy.  Hmmm.  I don't like my shiny new kitchen scales anymore.  Heartless tool of scientific inquiry!

I cut the slice into 24 squares resulting in the following nutritional data per serving:
  • 710 Kj = 170cal 
  • 3.3g Protein
  • 9.9g Fat
  • 17.4g Carbs
  • 9.1g Sugars
And, I might add, calculating the values for each of the ingredients took considerably longer than I had expected.

Oh well, at least the nutritional value of the slice is much higher than chocolate cake.  There is a good range of proteins, some fibre and zero cholesterol (as in all vegan food).  Well, that's me convinced - might just have another one now with a cup of tea!

If you want to try making them, here is the recipe:

Ingredients:
1 cup flour
1/3 cup brown sugar
1 cup rolled oats
1 cup seeds
1 cup dried fruit
1 cup nuts
125g margarine
1/3 cup golden syrup
1/2 teaspoon bicarb soda

For the slice pictured I used:
Seeds - 1/2 cup sunflower seeds and 1/4 cup each of sesame seeds and pumpkin seeds
Dried Fruit - 1/2 cup each of sultanas and cranberries
Nuts - 1/2 cup each of walnut pieces and slivered almonds

Method:
1. Preheat the oven to 180oC.
2. Grease and/or line a baking tray with baking paper.  I used a rectangular 30cm x 20cm tray.
3. Lightly toast the seeds under a grill. 
4. Combine all the ingredients except the last 3 in a bowl, mix well and form a well in the centre.
5. Place the margarine and golden syrup in a saucepan and stir over a low heat until melted.
6. Dissolve the bicarb in 1 tablespoon of boiling water and then pour into the melted margarine mixture.  It will froth up (This is my favourite bit!)  Immediately pour this into the dry ingredients and mix well.
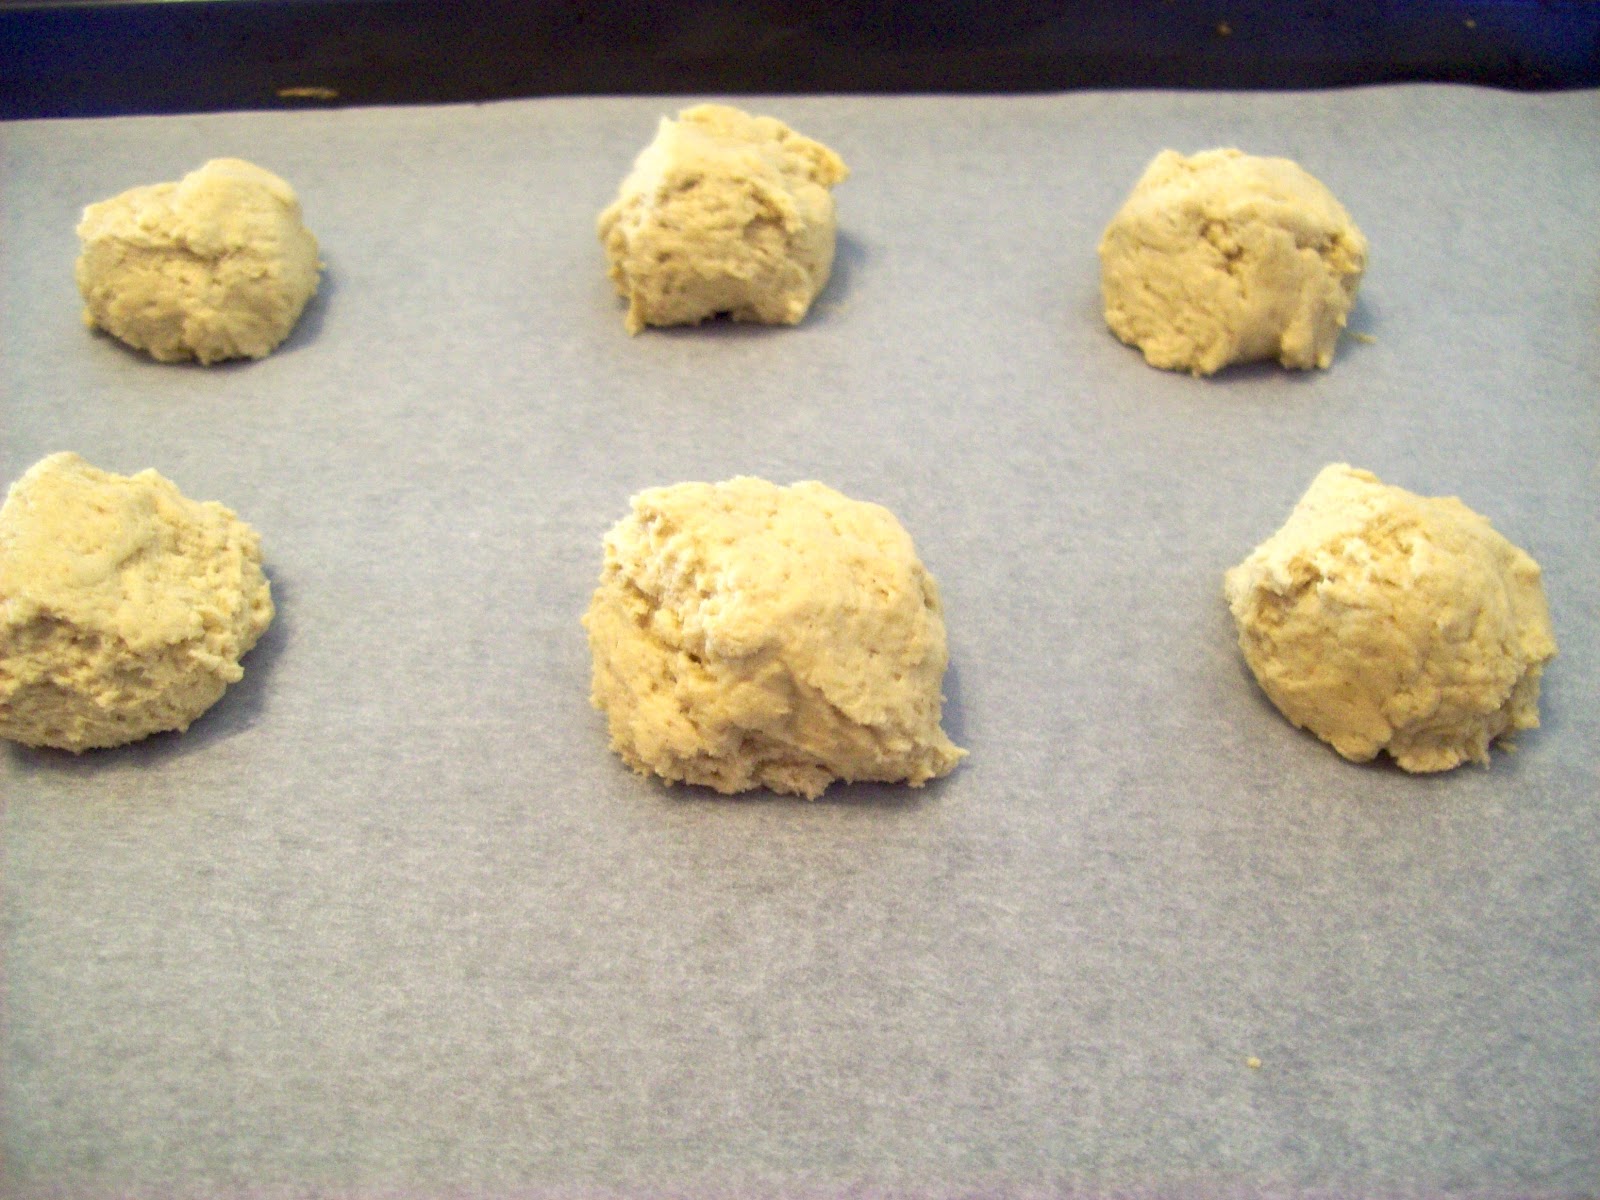
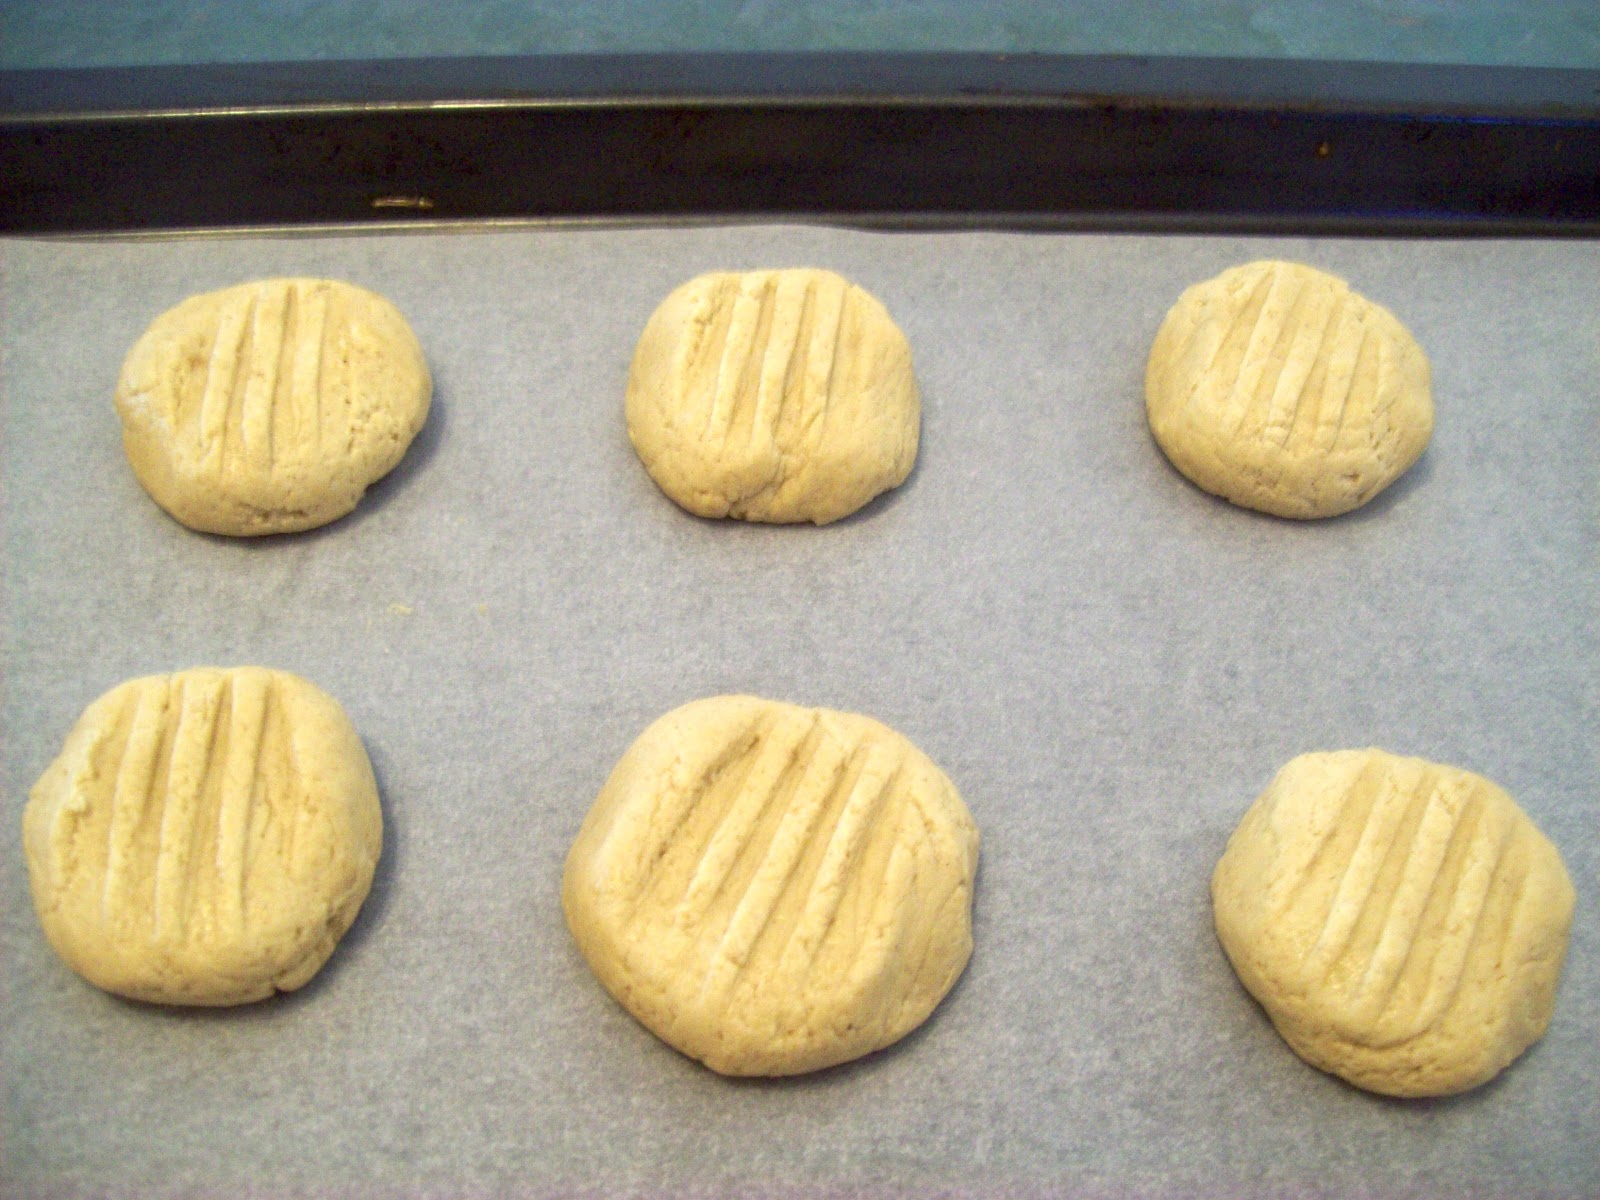
7. Press down well into the tray
8. Bake for 18 minutes, or longer if you would like a more crispy slice.
9. Allow to cool for 5 minutes then slice into squares.  Allow to cool fully before removing from the tray if you can (my husband and I tend to eat at least 2 squares worth each while it is still in the tray).

Monday, June 6, 2011

Banana Bread

Usually I buy lots of the bananas in the hope that some will have time to get good and over-ripe before they get eaten.  The riper (ie blacker) the better.  But bananas have been quite expensive in Perth this year due to the tornado and floods in Queensland, so I have not been buying as many.

Fortunately I still had a few over-ripe bananas in the back of my freezer from last year.  So when the banana bread cravings set in I had a handy stash.

For my first attempt at vegan banana bread I decided on the The Post Punk Kitchen's recipe - and I was not disappointed.    The Post Punk Kitchen - Banana Bread

Surprisingly there is no photo on the website so perhaps Isa could use mine ;)


The banana bread is delightfully moist, with a wonderful texture and a sweet, spicey taste.  It is a little bit too sweet even for my sweet tooth, so next time I will reduce the sugar a bit.

The only changes I made:
- I used regular soy milk instead of the vanilla soy milk in the recipe
- I added 1/3 cup of sultanas and 1/2 cup of walnut pieces.  (My husband loves sultanas and walnuts in banana bread.)
I know that the sultanas would have contributed to the sweetness, but even without the sultanas I would prefer to scale back the white sugar a little.

I have a question:  What effect does the apple cider vinegar have?
I looked at quite a few vegan banana bread recipes before deciding on this one and found that a lot used apple cider vinegar.  Is it something to do with replacing the eggs?

Whatever the role of the cider vinegar - the recipe works!  And I will definitely be making it again.

Tuesday, May 24, 2011

Ginger Kisses

I fell in love with ginger kisses while living in New Zealand.  But then one fateful day I bothered to read the ingredients and was disappointed to see they contained "animal fat".  This imprecise description could mean that the fat came from just about any animal.  And it almost certainly indicates inhumane and disgusting slaughter house practices.  Yuck!!!!  So I have been meaning to try making my own for years.  

Warning!!  This recipe is:
- unhealthy
- addictive

My next sweet vegan recipe will be far healthier.  Promise.  I am thinking maybe a protein pumped version of Anzacs with some nuts and seeds.

I spent a lot of time over a couple of days reading about ginger kisses on line.  (Embarrassing really!)  So I garnered clues from lots of sites.  The recipe that I followed mostly is here.  And for help with veganifying it (ie replacing the eggs) I decided on a suggestion on the PETA website.

Vegan Ginger Kisses:
Makes about 24 complete kisses.
Ingredients 
185gm non-dairy margarine (⅜ of tub)
⅔ cup brown sugar
¼ cup golden syrup
3 tablespoons* (60ml) of water
2 tablespoons (40ml) oil - I used canola
¼ teaspoon salt

2 cups plain flour
1 tablespoon ground ginger
2 teaspoons baking soda
1 teaspoon baking powder
1 teaspoon ground cinnamon

Method
1. Preheat the oven to 180 degrees Celsius.
2. Beat the margarine until soft.  Add the next 5 ingredients and beat on high speed until fluffy.
3. Sift together the 4 dry ingredients.
4. The gradually add the dry ingredients to the marg mix and beat on low speed.  I sifted the dry ingredients again as I added them.
5. Shape into half walnut sized balls.  If you want to roll them into balls you might need to refrigerate the dough for ~20 minutes.  And if you want to press down with a fork you may need to dip the fork in flour to stop it from sticking.
6. Bake for ~ 8 minutes.  Do not over cook. 
7. When cool sandwich together with mock vanilla cream filling.
8. Refrigerate for a couple of hours before serving. 

I often don't bother to sift ingredients, which for some recipes is ok.  But sometimes sifting will make a big difference.  I think that the double sifting probably adds to the lightness of these cookies.  So I suggest you take the time to sift in this case.

Vanilla Cream Filling 

Ingredients:
65gm margarine (⅛ of a tub)
1½  cups icing sugar
2 teaspoons vanilla essence
1 tablespoon soy milk

Method:
1. Beat the butter on high speed until soft.
2. Add the soy milk and vanilla essense and beat until fluffy.
3. Add the icing sugar and whip the hell out of it.

I tried a few different ways of shaping my cookies, including piping them.  But the pipped ones were fussy, messy and frankly looked a bit too much like doggy do-do.

Blobs - shaped using two spoons and then a little patting to smooth them a little. 
Rolled into balls, flattened and marked with a fork.  I liked these best.
The ginger kisses are still delicious before refrigerating.  I know this because I ate 2 at this stage - greedy, greedy!  But they were a little more like a melting moment (ginger moments?).  After a few hours in the fridge they acquire a softer, moister, more cakey texture which is more similar to the traditional kiwi ginger kisses.
 
*An Australian tablespoon is 20ml, as opposed to everywhere else in the world where a tablespoon is 15ml.  We like things big in Aus!   :)

Thursday, May 5, 2011

Sassy Shortbread Cookies with Nephews.

Two of my adorable nephews came to stay for a sleep over.  So of course we baked!  We always bake with Aunty Mandy - the difference this time is that it was vegan baking.

With a 6 and 7 year old at work I did not think it would be a good idea to experiment with a recipe of my own designing so we used this one: Sassy Shortbread Cookies.  However we did find that we needed to add a some extra flour (about half a cup) to make it into a workable consistency for little fingers.

I am not sure what is meant by "not tub margarine" in the recipe, but I used half of a tub (i.e. 250gm) of Nuttelex light and it seemed to work just fine.  Although come to think of it, maybe that is why we needed the extra flour.

Here is some photos of our fun afternoon.  My kitchen looked like a disaster zone by the time we finished, with sticky finger prints everywhere.  But it was definitely worth it!

The kitchen is still pretty clean at this stage.


Let the mess making begin!
That's just how I roll...
Zach: "I am just like a real chef!"
Ready to go into the oven.  I love Sam's skater complete
with knee pads, and Zach's shooting star.

Getting creative with icing and sprinkles.
The finished product.  We are so proud of ourselves!
Yum!
Cheers to a job well done!